Many beginners entering the field of aesthetic injections tend to focus on techniques, but often overlook the most fundamental and essential step—understanding facial anatomy. Without a clear grasp of anatomical structures, it becomes difficult to control injection depth, layer placement, and overall safety, which may lead to potential risks. Therefore, mastering facial anatomy is a fundamental prerequisite for every injector before beginning clinical or simulation training.
Foundational Facial Knowledge for Injections
1.1 Facial Regions and Their Relevance to Injections
The face is typically divided into the upper face (forehead and temples), midface (cheeks and periorbital area), and lower face (lips, chin, and jawline). These regions differ significantly in anatomical structure, movement patterns, and tissue thickness, which means injection strategies must be adapted accordingly.
For example, the cheek area is primarily associated with volume restoration and structural support, while the lips have denser tissue and higher dynamic activity, requiring greater precision and symmetry.
For beginners, understanding that “different regions = different treatment goals” is the first step in developing proper injection thinking.
1.2 Skin Layers and Basic Injection Depth
The skin consists of multiple layers, each with its own clinical relevance.
The superficial layers (epidermis and dermis) mainly affect skin texture and fine details. The middle layer (subcutaneous fat) is the most common target for filler placement, responsible for volume restoration and rejuvenation. Deeper structures provide foundational support and facial contour.
In practice, a simple way to understand injection depth is:
- Superficial layer → fine correction and skin quality improvement
- Mid layer → volume restoration and rejuvenation
- Deep layer → structural support and contouring
The key takeaway is that injection is not about simply “injecting into the skin,” but about placing the product in the correct anatomical layer.
1.3 Core Principle for Beginners: Understand Structure Before Injection
Before engaging in any hands-on practice, it is essential to first establish a clear anatomical framework.
At a minimum, beginners should be able to answer three key questions:
- Where are the boundaries of this facial region?
- Which anatomical layers are involved?
- Is this a high-risk area?
For instance, performing cheek augmentation without understanding deeper structural layers may affect result stability, while treating the lips without recognizing tissue characteristics can lead to asymmetry or poor control.
In clinical practice, consistent and reliable injection outcomes are built on anatomical understanding, not on repetition alone.
Key Facial Anatomy Structures for Injectors
2.1 Facial Muscles (Impact on Outcomes and Complications)
Facial muscles control expression, and their dynamic movement directly affects the stability and appearance of injection results.
For example, perioral muscles are highly active, which can influence the symmetry and longevity of lip augmentation. In addition, in areas where superficial muscles are thin or close to the surface, improper depth control may lead to uneven product distribution or unnatural appearance.
Therefore, understanding muscle function is essentially about recognizing that the face is a dynamic structure, not a static model.
2.2 Facial Vasculature (Risk Areas and Awareness)
Blood vessels are one of the most critical risk factors in injection procedures. However, the focus of learning should not be on memorizing every vessel name, but on identifying high-risk regions.
For example, areas such as the nose, glabella, and nasolabial folds have denser and more complex vascular networks. If injection depth or placement is not properly assessed, it may affect local blood supply, potentially leading to signs such as blanching, pain, or abnormal tissue response. This is why these regions require a higher level of anatomical awareness in clinical practice.
Different facial areas carry different levels of risk, which directly influences the level of caution required during treatment. For beginners, the key skill is not memorizing the exact location of every vessel, but developing a sense of judgment: knowing which areas require greater caution, rather than where each individual vessel is located.
2.3 Facial Nerves (Avoiding Nerve-Related Complications)
Facial nerves control the movement of expression muscles, with different branches corresponding to different functional regions. For example, the forehead region is responsible for eyebrow elevation, while the perioral area is involved in speech and facial expressions. As a result, nerve distribution is closely linked to facial dynamics.
Although nerve-related complications are uncommon in proper clinical practice, understanding their general pathways helps prevent unnecessary interference with functionally active areas during the learning phase. For instance, in regions with frequent movement, a lack of understanding of the relationship between nerves and muscles may lead beginners to overlook the importance of facial dynamics.
Therefore, the goal of learning nerve anatomy is not precise memorization of every branch, but developing a general concept: different facial regions are controlled by different nerve functions, and this functional mapping should guide clinical thinking.
2.4 Facial Bones and Fat Pads (Structural Foundation for Injections)
Facial bones form the foundational support framework, defining the structural boundaries of the face, while fat pads maintain volume and contribute to a youthful appearance. Together, they determine both contour and softness.
With aging, fat pads may lose volume or shift position, leading to hollowing, contour changes, and reduced structural support. For example, volume loss in the midface can create an overall tired appearance, rather than just a localized concern.
As a result, modern injection approaches have evolved from simple surface filling to structural restoration based on deeper anatomical support, emphasizing the relationship between bony structure and fat distribution.
How Beginners Apply Anatomy in Practice
3.1 Understand Anatomy by Facial Areas, Not Just Procedures
For beginners, it’s often easier to start with facial areas rather than memorizing different injection procedures.You can think about common regions like this:
- Cheeks: This area has thicker tissue, with underlying fat pads and bony support. It is more about structure and volume.
👉 Focus on understanding why this area supports contour, not just how to add volume. - Lips: The tissue is denser, highly dynamic, and more vascular.
👉 This area requires better control of superficial layers and symmetry, rather than simply adding volume. - Nasolabial folds: This is a combination of structural change and dynamic movement.
👉 Beginners should learn to recognize whether it’s a support issue or a surface fold.
Learning anatomy through a “region → structure → purpose” approach is much more effective than memorizing procedures.
3.2 Use Anatomy to Recognize Where Extra Caution Is Needed
A common beginner mistake is focusing only on “how to perform” a procedure, without considering whether the area is more complex or higher risk.
From an anatomical perspective, you can start with a simple way of thinking:
- Midline areas (such as the nose and glabella)
More complex vascular structures → require greater caution
- Highly dynamic areas (such as the lips and perioral region)
Frequent muscle movement → can affect symmetry and stability
- More lateral areas (such as parts of the cheeks)
Relatively more stable structures → easier for beginners to understand spatial relationships
The goal is not to memorize everything, but to develop an instinct: some areas are naturally more complex and require a slower, more careful approach.
3.3 Commonly Confused Structures and How to Tell Them Apart
Another challenge for beginners is distinguishing between structures that look similar.
Here are a few simple ways to think about them:
- Frontalis vs. Occipitofrontalis
Instead of memorizing them as separate muscles, think of them as part of one connected system working together.
- Masseter vs. Buccinator
One is more external and involved in chewing, while the other is deeper and helps control the inner cheek.
👉 Use position + function to tell them apart.
- Blood vessels vs. nerves
These structures are not visible on the surface, which makes them harder to understand.
👉 Use surface landmarks (such as the nose, mouth corners, or cheekbones) to build a general spatial awareness first.
Advice for Beginners
For beginners, learning facial anatomy should go beyond memorizing names. The goal is to gradually build a clear understanding of structural locations, layer relationships, and functional logic. During the learning process, it is helpful to combine visual references with real three-dimensional structures rather than studying anatomy in isolation. At the same time, maintaining a step-by-step learning pace from basic structures to more complex regions is essential to truly translate anatomical knowledge into safe and effective injection skills.
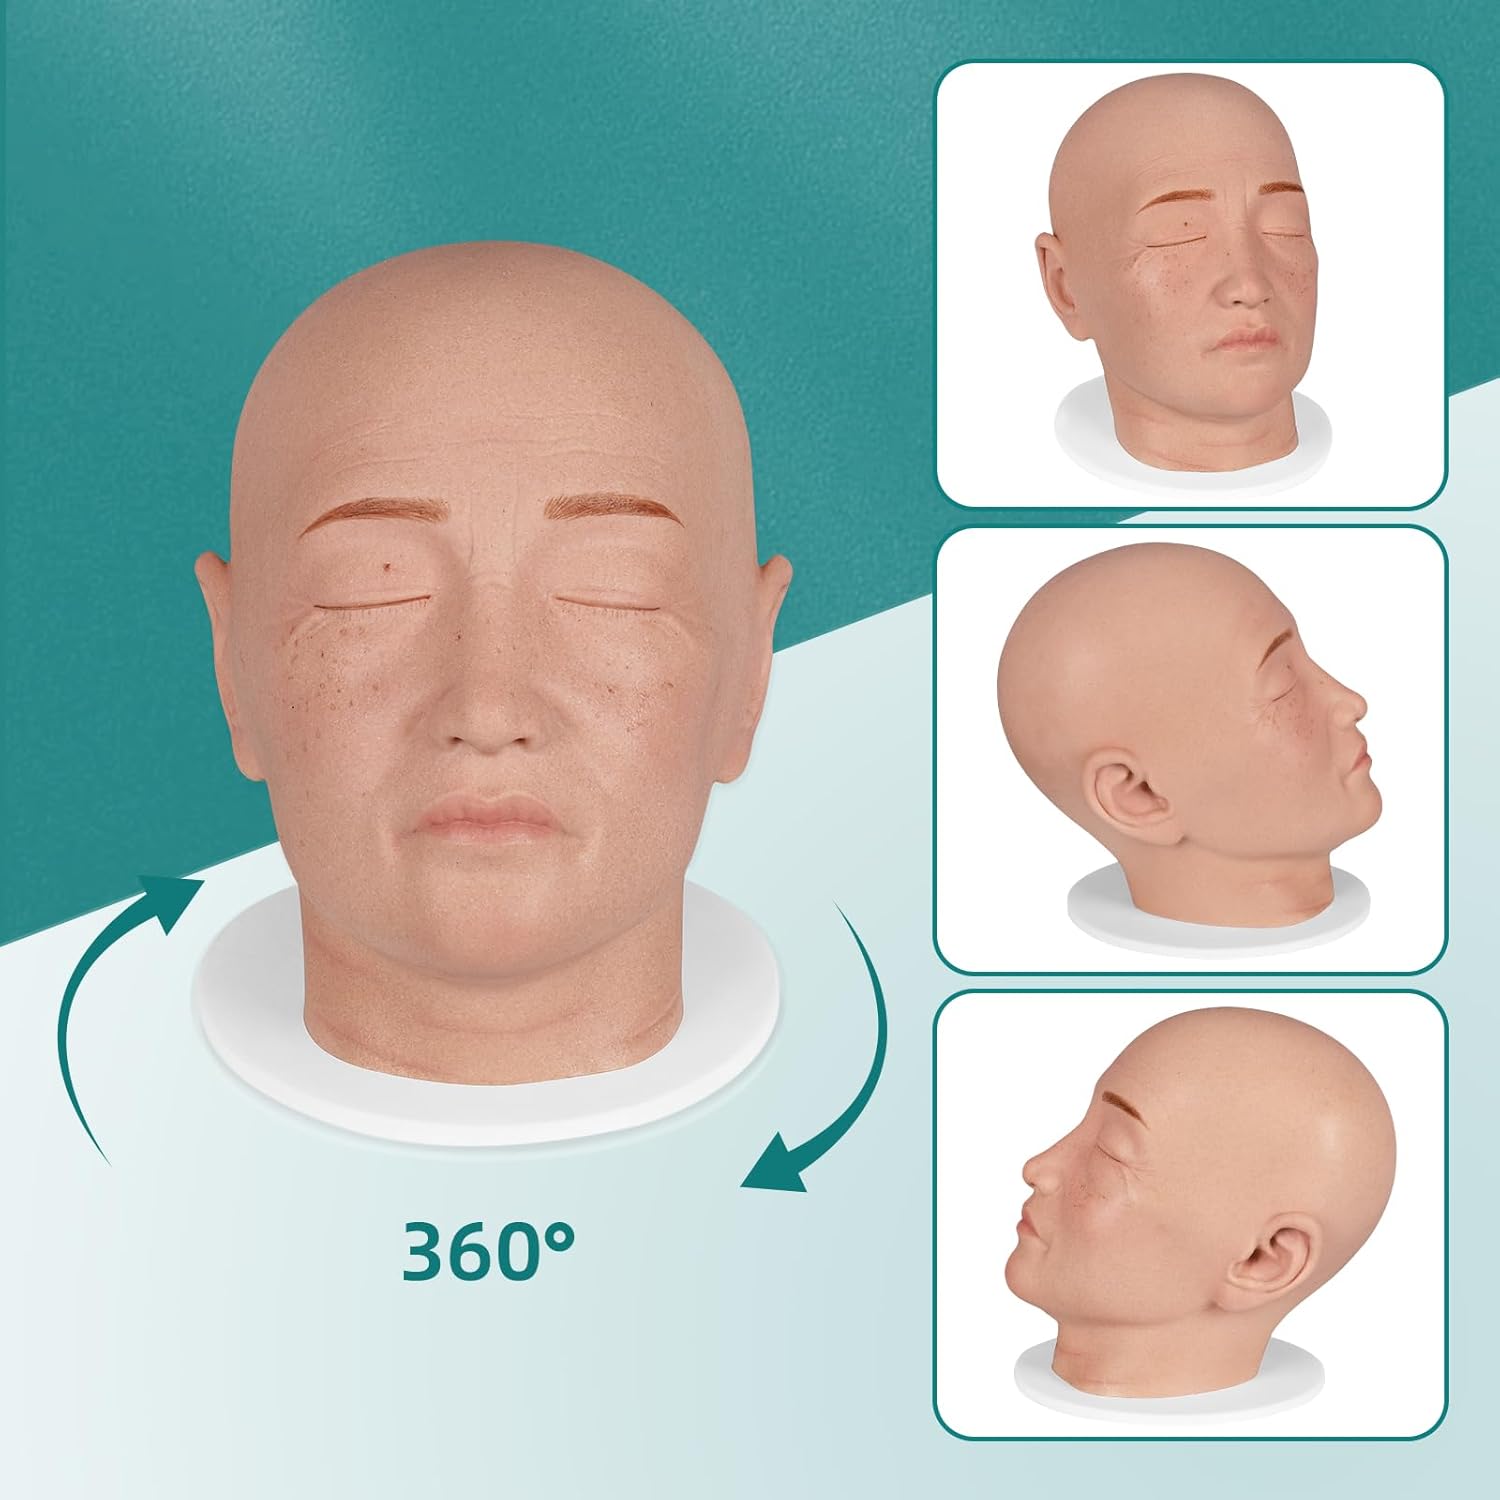
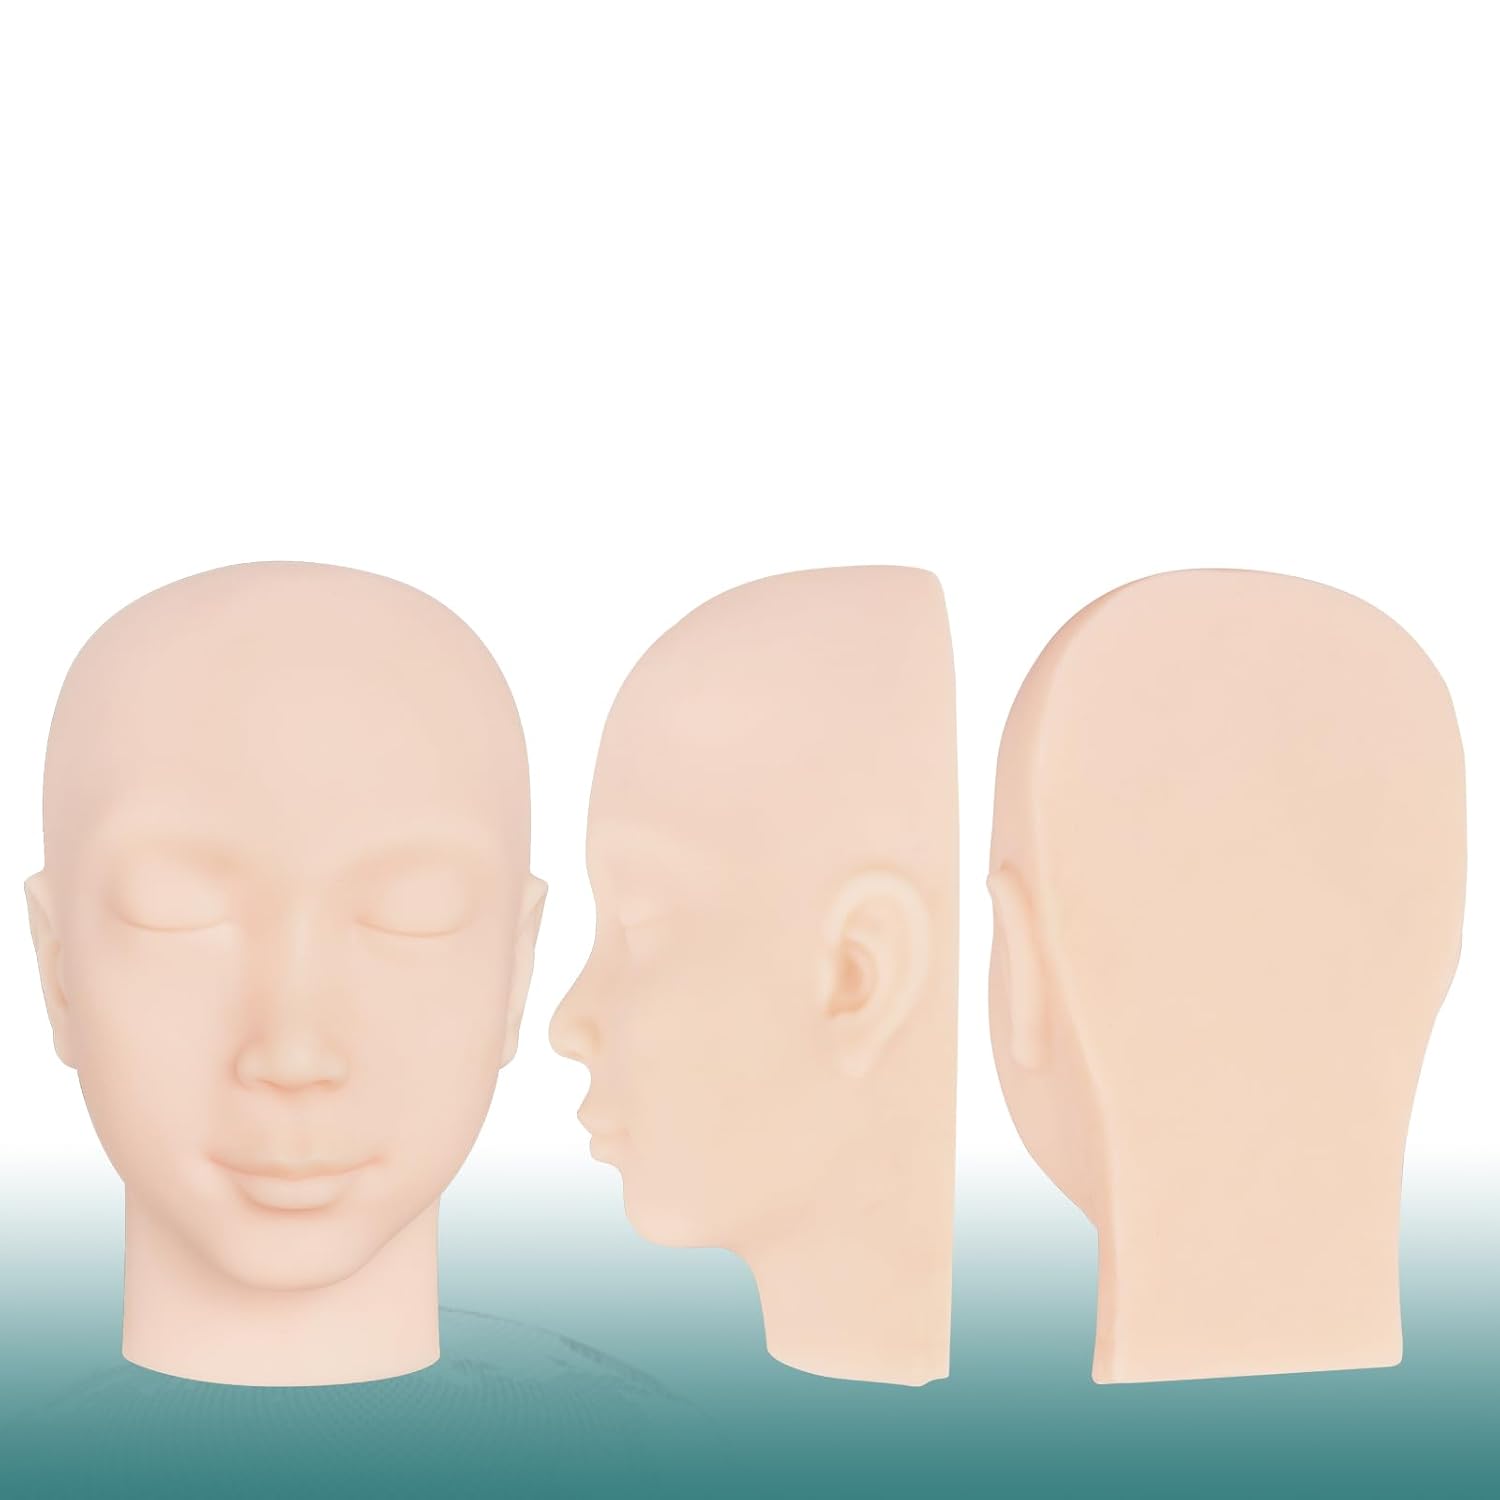
In this process, using simulation tools such as realistic facial injection manikins can help turn abstract anatomical concepts into intuitive spatial understanding, making it easier to connect theory with hands-on practice.